
If you’re a blogger using Blogger.com, organizing your content with labels is essential. Labels act like categories or tags, helping readers quickly find posts on specific topics and improving the overall user experience. In this tutorial, I’ll walk you through how to create, manage, and display labels effectively.

📌 Step 1: Access Your Blogger Dashboard
Log in to your Blogger Dashboard with your Google account...
📌 Step 2: Write a New Post or Edit an Existing One
- Click “New Post” to start a fresh blog entry, or select an existing post to edit.
- Write your content, including the title and body.
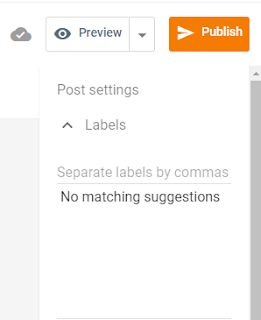
📌 Step 3: Add Labels to Your Post
In the post editor, look to the right‑hand side under Post Settings...
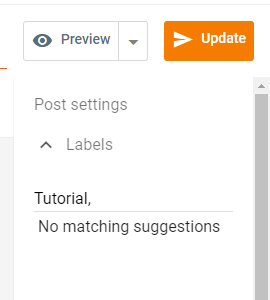
- Click on “Labels”.
- Type in the labels you want to assign (e.g., “travel, tips, photography”).
- Separate each label with a comma and space.
- Keep labels relevant to the post content for better organization.
Once added, labels will appear at the bottom of your published post.
📌 Step 4: Using Multiple Labels
You can assign multiple labels to a single post...
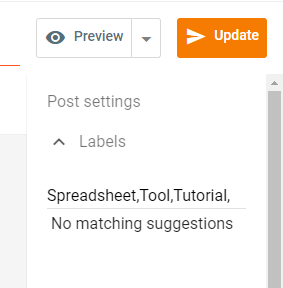
- You can assign multiple labels to a single post (e.g., “recipe, cooking, food”).
- Tip: Fewer, consistent labels are more effective for long‑term organization.
📌 Step 5: Display Labels in Your Blog’s Sidebar
- Go to the Layout tab in your Blogger Dashboard.
- Add a Labels Gadget to your sidebar.
- Customize its appearance and save. Readers will now see clickable labels in your sidebar.
📌 Step 6: Linking to Label Pages
- Each label generates a dedicated page showing all posts tagged with that label.
- To link directly to a label page:
- Visit a post with that label.
- Click the label name at the bottom of the post or in the sidebar widget.
- Copy the URL from your browser and use it wherever needed.
✅ Conclusion
By effectively using labels, you’ll improve your blog’s structure and make it easier for readers to explore related content. Experiment with different labels, keep them consistent, and enjoy a well‑organized blog. Labels are like signposts guiding your readers through your content.
Happy blogging! 📝🌟